
Are you thinking about migrating your website to WordPress? Whether you’re moving from another content management system (CMS) or simply upgrading an older site, WordPress is a powerful platform that offers flexibility, scalability, and ease of use. This guide will walk you through the process step by step, ensuring a smooth transition without losing data or traffic.
Why Migrate to WordPress?

Before diving into the migration process, it’s worth understanding why WordPress is the CMS of choice for millions of websites. Here are a few key benefits:
- User-Friendly Interface: WordPress is known for its intuitive dashboard, making it easy to manage content without needing technical expertise.
- Flexibility: With thousands of themes and plugins, you can customize your site to fit your exact needs, whether you’re running a blog, an online store, or a corporate site.
- SEO-Friendly: WordPress is designed with SEO in mind, offering features like customizable permalinks, meta tags, and responsive design.
- Large Community: A vast community of developers and users means you’ll have access to extensive resources, tutorials, and support.
Step 1: Plan Your Migration
Proper planning is crucial for a successful migration. Start by auditing your current website to determine what content and functionality need to be migrated. Consider the following:
- What content should be migrated? Identify the pages, posts, images, and other media that are essential to your site.
- Which functionalities do you need? Take note of any forms, e-commerce capabilities, or custom scripts that need to be replicated on WordPress.
- SEO considerations: Ensure that your existing SEO settings, such as meta descriptions and keyword tags, are carried over to WordPress to avoid losing search engine rankings.
Step 2: Choose the Right WordPress Hosting
Selecting a reliable hosting provider is key to your website’s performance. Look for hosting that offers:
- WordPress compatibility: Choose a hosting provider that is optimized for WordPress. Many hosts offer one-click WordPress installations.
- Scalability: Ensure that the hosting plan can accommodate your website’s growth in terms of traffic and content.
- Security features: Opt for hosting that includes SSL certificates, regular backups, and malware scanning to keep your site secure.
Popular hosting providers for WordPress include SiteGround, Bluehost, and WP Engine.
Step 3: Install WordPress
Once you’ve chosen your hosting provider, it’s time to install WordPress. Most hosting providers offer a one-click installation process. Follow these general steps:
- Log in to your hosting account.
- Find the WordPress installation option, often under the “Website” or “CMS” section.
- Select the domain where you want to install WordPress.
- Click the install button and follow the prompts to complete the installation.
Once installed, you can access your WordPress dashboard by going to yourdomain.com/wp-admin.
Step 4: Choose and Customize Your Theme
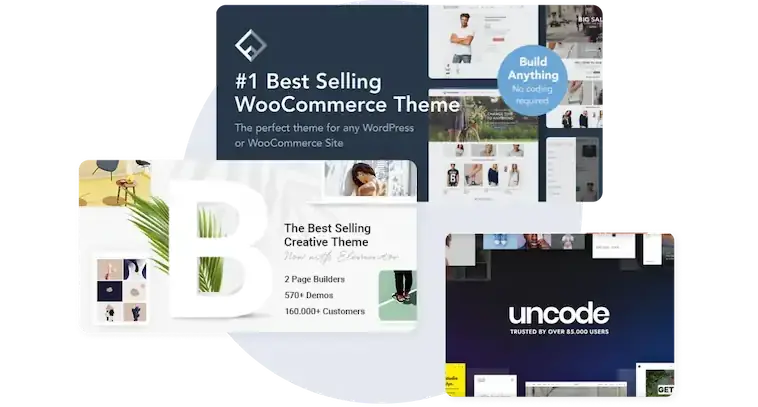
WordPress offers thousands of free and premium themes. Choose a theme that matches your brand and offers the features you need. Once selected, you can customize the theme to match your site’s design:
- Go to Appearance > Themes in your WordPress dashboard.
- Click “Add New” and browse for a theme that suits your needs.
- Install and activate the theme.
- Customize the theme by going to Appearance > Customize. Here, you can adjust colors, fonts, and layout options.
Step 5: Install Essential Plugins
Plugins add functionality to your WordPress site. Some essential plugins to consider include:
- SEO Plugin: Plugins like Yoast SEO help optimize your site for search engines.
- Security Plugin: Use plugins like Wordfence or Sucuri to protect your site from threats.
- Backup Plugin: Ensure your site is regularly backed up with plugins like UpdraftPlus.
- Performance Plugin: Improve your site’s speed with caching plugins like WP Super Cache or W3 Total Cache.
To install a plugin, go to Plugins > Add New in your dashboard, search for the plugin, and click Install Now.
Step 6: Migrate Your Content
Now it’s time to migrate your content. Depending on your existing CMS, there are different ways to do this:
- Manual Migration: If you have a small site, you can manually copy and paste content from your old site to WordPress.
- Import Tools: WordPress offers built-in import tools for migrating content from other platforms like Blogger, Tumblr, or a previous WordPress installation. Go to Tools > Import to see your options.
- Plugins: For larger sites, use migration plugins like All-in-One WP Migration or Migrate Guru to move content efficiently.
During migration, pay attention to media files, internal links, and SEO settings to ensure everything is correctly transferred.
Step 7: Test Your New WordPress Site
Before going live, thoroughly test your new WordPress site to ensure everything works as expected:
- Check all pages and posts to ensure content has migrated correctly.
- Test forms and interactive elements to make sure they function properly.
- Verify internal links to ensure they point to the correct pages.
- Test your site’s responsiveness on different devices and browsers to ensure a smooth user experience.
Step 8: Redirect Old URLs and Go Live
To avoid losing traffic or search rankings, set up 301 redirects from your old site’s URLs to the corresponding pages on your new WordPress site. This tells search engines and visitors that the page has permanently moved.
Use a plugin like Redirection to easily manage redirects from your old URLs to the new ones.
Once redirects are in place, you can officially go live with your WordPress site.
Step 9: Monitor and Optimize
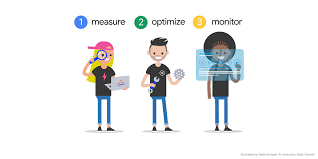
After launching your new site, monitor its performance and make any necessary adjustments:
- Use Google Analytics to track traffic and user behavior.
- Check Google Search Console for any crawl errors or issues with indexing.
- Optimize your site’s speed by regularly clearing caches and optimizing images.
Continue to update your WordPress site with fresh content, keep your plugins and themes up to date, and ensure your site’s security with regular maintenance.
Conclusion
Migrating your website to WordPress can seem like a daunting task, but with careful planning and execution, it can be a smooth and rewarding process. WordPress offers unmatched flexibility, scalability, and ease of use, making it an excellent choice for any business looking to grow its online presence.
If you need help migrating your site to WordPress, TechRougeHub is here to assist you every step of the way. Contact us today to learn more about our website migration services and how we can make your transition to WordPress seamless and stress-free.